 For the moment Microsoft provides us with with demo-VPC’s for Windows Server Hyper-V. In this post I will describe step-by-step how you can run the same vhd with VirtualBox on your Windows Client.
Before you begin:
Make sure that Hardware Virtualization is enabled on your machine. To check if this setting you can Hardware-Assisted Virtualization Detection Tool from Microsoft.
Install the latest version of Oracle VirtualBox:
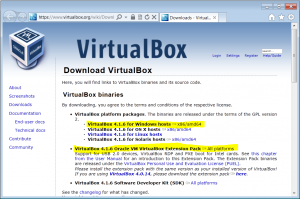
- Download the latest version of Oracle VirtualBox hosts and the Extension Pack from https://www.virtualbox.org/wiki/Downloads

- Install Oracle VM VirtualBox
- Install Oracle VM VirtualBox Extension Pack
Download the Microsoft Ax 2012 Hyper-V:
- Go to PartnerSource (or CustomerSource) and download the appropriate VPC
TIP: If you just need Ax2012 you can use the ‘HyperV_A’
Create a new Virtual Machine based on the Hyper-V VHD
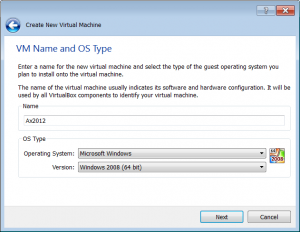
- Create a new Virtual Machine


- Enter the name of your Virtual Machine and Select ‘Windows Server 2008 (64 bit)’ as the version

- Allocate memory to the Virtual Machine (minimum 4GB or 4096MB)

- Untick the ‘Boot Hard Disk’ checkbox. We will add the Virtual Hard Disk manually when the wizard is finished.

- Finish the wizard
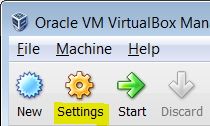
- Click on Settings

- Navigate to the Storage section

- Add a hard disk and choose ‘Existing Hard Disk’

- Navigate to the Network section

- For the first Adapter select ‘Internal Network’

- For the second Adapter select ‘Bridged Adapter’ (only if you need internet access in your Virtual Machine)

- After you have finished these steps the settings will look like this

Now you should have a fully functional Demo-VPC with Microsoft Dynamics Ax 2012 🙂
Have Fun!
Possible issue:
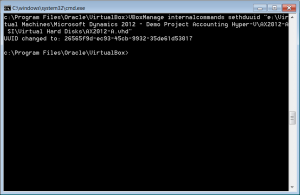
When you add 2 Demo VHD’s you could get an error concerning the uuid of the VHD file. You can easily change the uuid withe the following command:
VBoxManage internalcommands sethduuid “[PATH TO THE VHD FILE]AX2012-A.vhd”

